Hidden files are files that are literally hidden in your Google Drive account. Filerev’s Hidden File Finder for Google Drive allows you to easily view, unhide, or delete these files.
These hidden files do not live in a folder, so there is no way to browse to them. The only way to find them in Google Drive is by knowing the exact name of the file and then searching for it. Of course, searching by an exact name is really hard to do when you don’t know what file is hiding. Finding these hidden files is also beneficial as they will still use your storage space even though you don’t see them in Google Drive.
 Note: There are files that operating systems (Windows, Mac, Linux) consider hidden. These files start with a period (or dot). This is not what the hidden file shows in Filerev. However, you can view these types of hidden files in your Google Drive account in the File Type category.
Hidden file scanning is a separate scan option, so make sure you check Hidden Files when choosing what to scan (available on the Basic plan and up). After the scan completes, the summary page will show a Hidden Files category with how many hidden files you have and how much storage space they use.
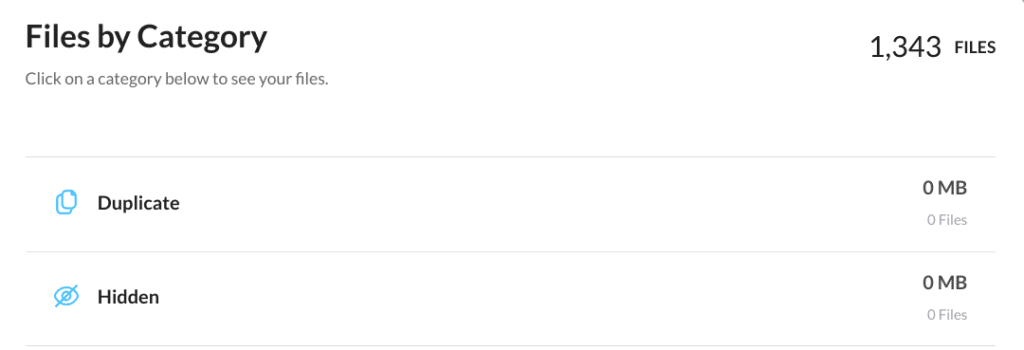
You can click on the Hidden category, and it will show all of the files that are hidden in your account.
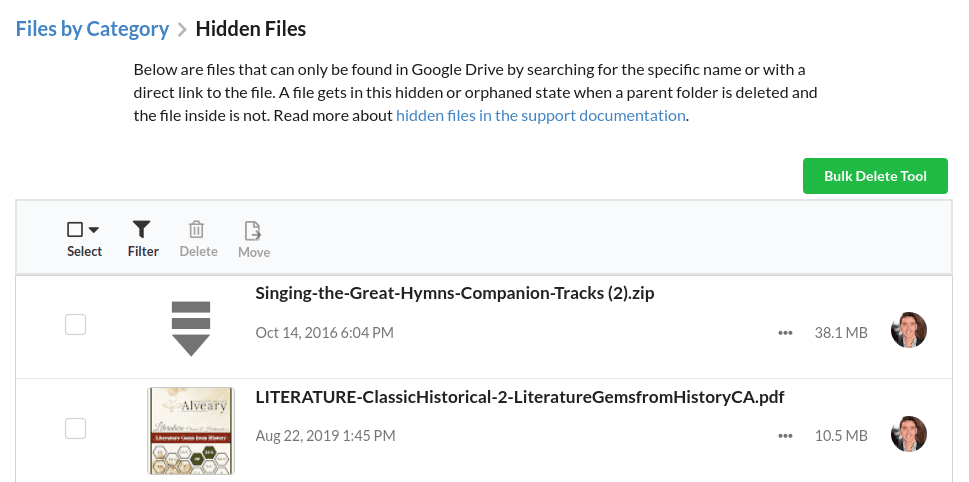
You can then move or delete the hidden files by selecting them and then clicking either the delete or move icon. When selecting the files, you can select them one-by-one or you can use the select icon (top left) to quickly select everything on the current page. If you have many pages of hidden files you can quickly delete them all by using the Bulk Delete Tool (top right).
At this point, It is recommended to take a look at the guides for moving, deleting & bulk deleting and using filters as these apply to every category, not just the hidden files page.
How are hidden files created, and can it still happen?
Hidden files can still be created in Google Drive. The primary way that they are created is by putting files in a folder that someone else has shared with you. Specifically, it takes the following steps where John, a fictitious person, shares a folder with you.
- John shares a folder with you and is the owner of the folder.
- You put files into the folder, and you are the owner of the file.
- John removes your access to this folder.
At step 3, since you are still the owner of the file, it is still kept in your account, and your storage space is used. However, you don’t have access to the folder it lives in, so the file becomes hidden. The same thing happens if John deletes the folder entirely, or if you remove the shared folder from your own “Shared with me” section while your files are still inside it.
How do I find every hidden file?
To make sure Filerev finds all of your hidden files, select everything when you choose what to scan:
- Check My Drive.
- Check Computers.
- Check Hidden Files.
- Check Shared with me and set its dropdown to all instead of only.
The Shared with me setting matters more than you might expect. The only option scans just the files and folders that appear in your Shared with me section. The all option also finds folders that are still shared with you but that you removed from your Shared with me section. Those folders can contain files you own that are using your storage space, even though you can no longer browse to them.
Scanning with all of these options selected is what allows Filerev to find files in shared folders that are no longer visible anywhere in your account. Everything Filerev finds will show up in the Hidden Files category, where you can delete the files or move them back into a folder.
Is it safe to delete hidden files?
It depends. You will want to manually review these files and make that decision. In many accounts, the files have been hidden for so long that they are no longer needed. However, you might find files that are hidden that are important and should not have been hidden to begin with.