To use Filerev, you do not need to install anything. Instead, you can log in and use the software from any device with your browser.
You can also install Filerev on a mobile device and also install Filerev inside Google Workspace.
How to Login to Filerev
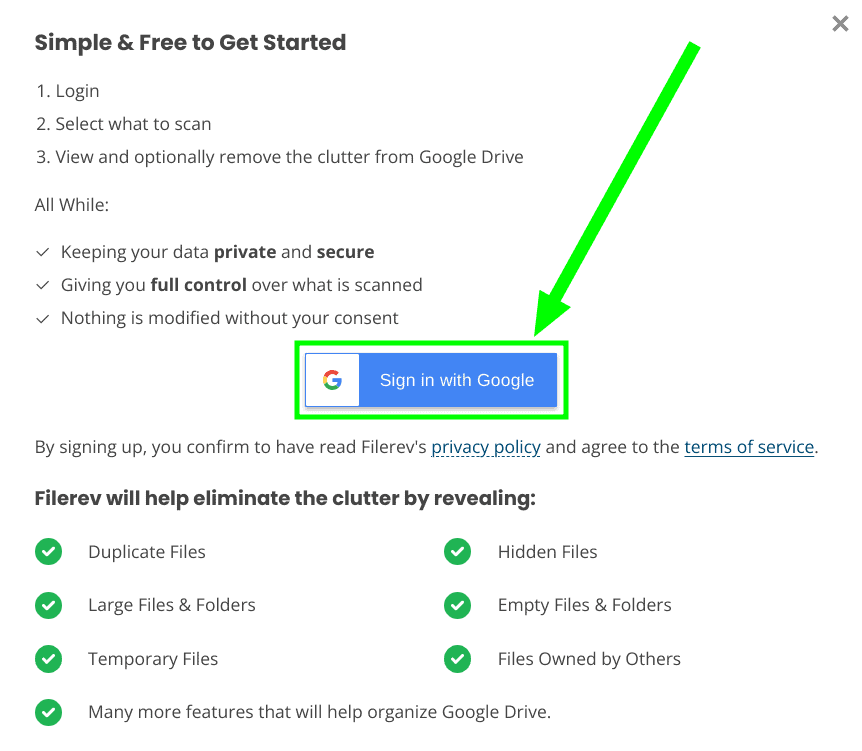
When you click the log-in link you will be presented with a pop-up (screenshot below) showing the next steps and you can click the Sign in with Google button to create your Filerev account.
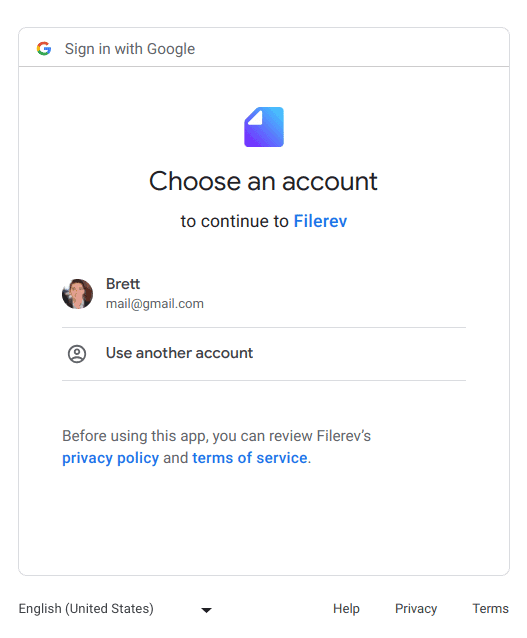
Then you will see the Google login form where you can select your account you would like to login with.
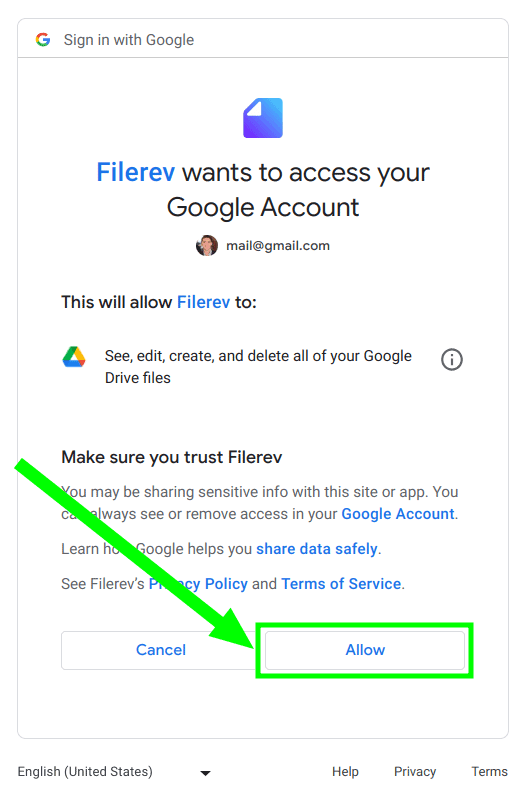
Last you will be asked to give the Filerev app access to your Google Drive account by clicking continue. This will let Filerev scan your account to show you what can be cleaned up.
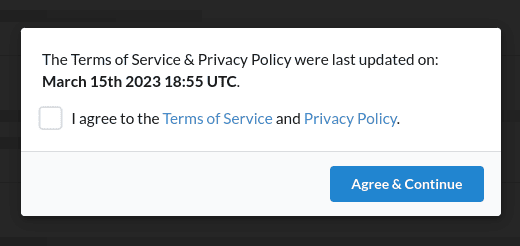
Then you can review the terms and privacy policy. If you agree, select the checkbox and click the blue button, Agree and Continue.
How to Start Your First Scan
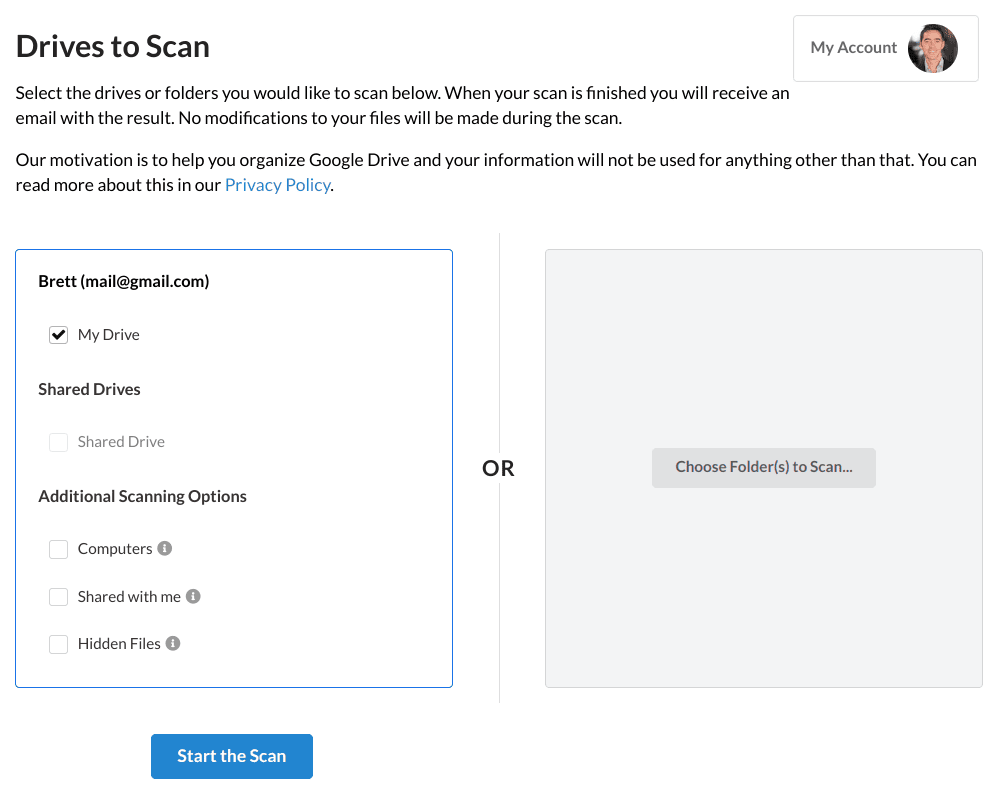
Now that your account is created, you will see a page like the following that lets you pick what you would like to scan. You can scan your entire account by selecting My Drive and then Start the Scan. Or if you have the Premium subscription, you can select one or more shared drives to scan as well.
![]() Note: Scanning your account will not modify any files or folders in your Google Drive account. After scanning, you will have the option to select and delete files, but nothing will be deleted without your specific action and confirmation of the action.
Note: Scanning your account will not modify any files or folders in your Google Drive account. After scanning, you will have the option to select and delete files, but nothing will be deleted without your specific action and confirmation of the action.
Once the scan starts you will see the progress of the scan as shown below.
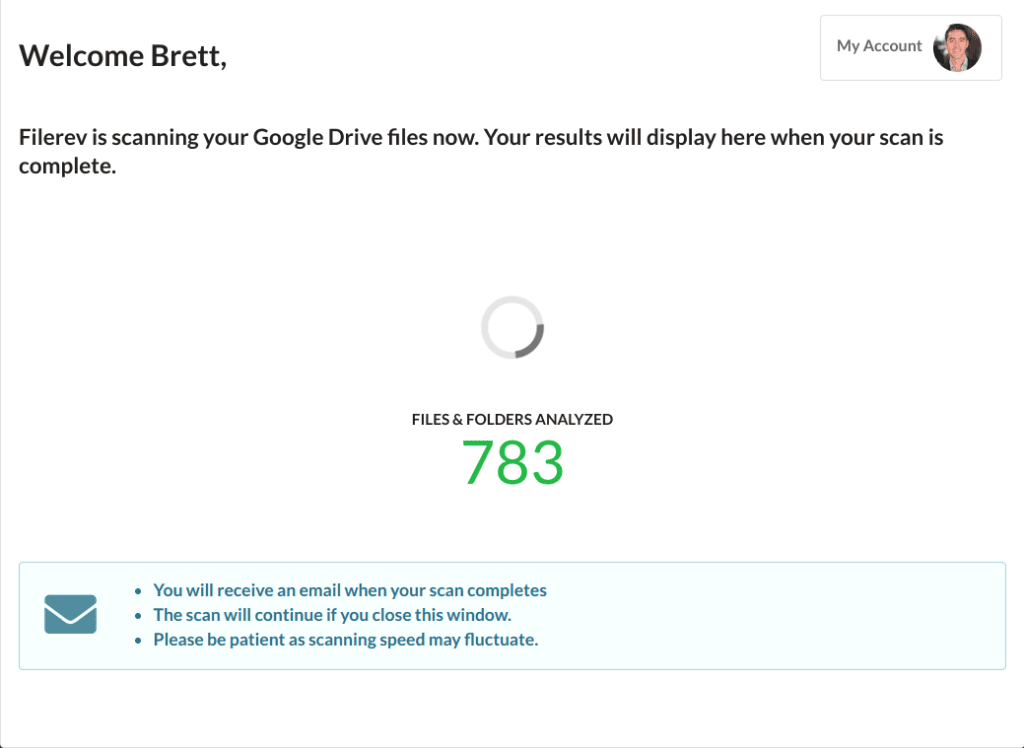
You will also receive an email when your scan completes. Then can view your storage usage, view & delete duplicate files, bulk delete files, use filters and more.
![]() Note: When you scan your files with Filerev, it takes a point-in-time snapshot of the files. This means if you change the files in Google Drive (i.e. delete, rename, move) after the scan completes, Filerev will not show the changes. In order to see the changes in Filerev, you will want to click the Scan Again link on the top right of the summary page.
Note: When you scan your files with Filerev, it takes a point-in-time snapshot of the files. This means if you change the files in Google Drive (i.e. delete, rename, move) after the scan completes, Filerev will not show the changes. In order to see the changes in Filerev, you will want to click the Scan Again link on the top right of the summary page.