
Are you looking to learn about Google Workspace for your team? You’re in the right spot!
I’m going to talk about how to improve your organization’s productivity and protect its security by setting up the Google Admin Console. Whether you’re treading these waters for the first time or you’ve been here before, I’ve customized this guide to be as clear and complete as possible.
Ready to roll? Let’s jump into the space of the Google Admin Console and make your organization run like a well-oiled machine!
Sign Up for Google Workspace
To sign up for Google Workspace, hop over to the Google Workspace sign-up page. You’ll need to throw in some details about your organization. Choose a plan that feels right for what your team does and how much you’re willing to spend. There’s a bunch to pick from, each with its own set of tools and price tags.
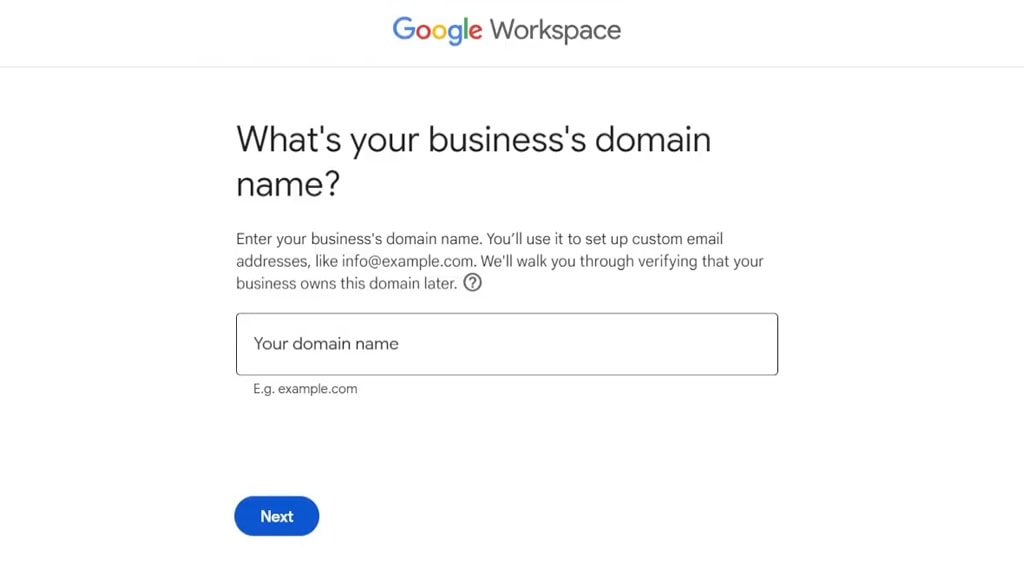
Next, you’ll need to enter your company’s domain name. Think of it as your business’s street address – it’s how you’ll send emails, share documents, and do pretty much everything else online with Google. If you don’t have one, but no sweat – you can buy one during the sign-up stage. Take a moment here; picking a good domain name is like naming a pet. It should fit your business and be easy for your team to remember. We’ll talk about this process a bit more in the next section.
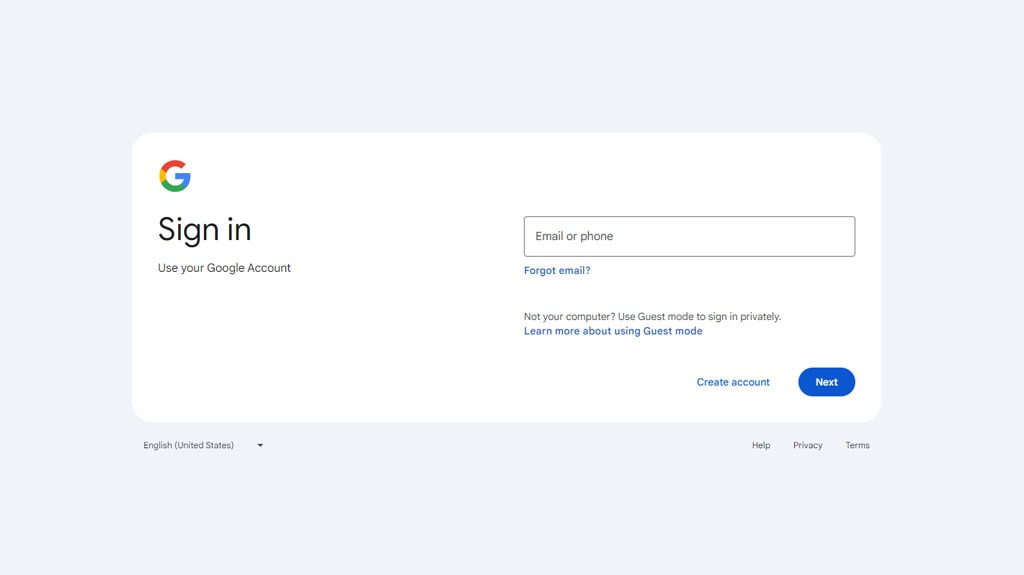
Once you have your plan and domain name in the bag, head to the Admin console by heading to admin.google.com. Sign in using an admin email linked to your domain. This is where you’ll steer the Google services ship for your organization.
Those jumping into Android Business in 2024 will get a managed Google domain and account right off the bat. This is a great way to access the Admin console, where you can manage all things Workspace and Chrome Business upgrades. And if you need to flip a personal account to a managed Google account, you can do that, too.
Logged in? Great! The Admin console is where things start moving. Adding users or boosting someone’s admin rights is very easy – just go to Menu > Directory > Users and click “Invite user.”
For organizations using Android Business, changing EMM (Enterprise Mobility Management) settings is a few clicks away at Menu > Devices > Mobile & endpoints > Settings > Third-party integrations.
Verify Your Domain
First up, you’re going to need a verification code. This is like the secret handshake to prove you own your domain. Make sure you’re logged in with your admin account (and by the way, it can’t be a @gmail.com one) when you talk about the Google Workspace setup wizard. Look for the spot that has conversations about domain verification – that’s where you’ll find your code. Make sure to copy it exactly; it’s a great way here.
Let’s talk about updating your domain’s DNS records on Google Workspace. If you’ve never done this before, you might think it’s all rocket science, but honestly, it’s not that bad. Most domain registrars today are pretty user-friendly. Log into yours, head over to the DNS management area, and we’re going to add a new record.
You’ll either create a TXT record or a CNAME record, but most people go with TXT. In the field that asks for Name/Host/Alias, just put “@.” You can choose the Time to Live (TTL) as 86400 or just go with whatever default they suggest. Paste your verification code into the Value/Answer/Destination box and save your work. Guess what? You’ve just done the trickiest part!
The next step is to let Google Workspace know it’s time to verify your domain. Hit “Verify my domain,” and then, well, it’s time to relax for a bit. These DNS changes can take a moment to show up. Run into an error? No stress; wait an hour and try again.
Once Google gives the thumbs up on your domain, that’s a big chunk of the setup done. Now you’re all set to add users, fire up Gmail under your own domain, and familiarize yourself with the Admin Console for any additional adjustments. The Console is also stocked with guides and support to help you through, so don’t worry if you’re not a computer expert. Just like that, you’re on track to get Google Workspace fully meshed with your organization.
Access the Admin Console
Alright, you have your domain ready to go – nice work! The next step? Talk about the Google Admin Console to keep your organization’s Google Workspace in check. It’s no biggie, really. A smart way to keep everything from emails to documents running smoothly.
First up, fire improves your favorite web browser. Punch in “admin.google.com” into that address bar. Hot tip: bookmark it so you’re a click away from the action next time.
Head over to the Admin Console’s sign-in page. Here’s where you toss in your admin email. Not your casual “@gmail.com” one – I’m talking about the official one you set up for your organization. It’s like your backstage pass to managing Google Workspace services.
Got that typed in? Cool. Next, it’s password time. Get it right, and bam! – you’re in the Admin Console. This place was built to be your assistant, with its cool shows on user management, service settings, security adjustments, and more, all dialed in to make Google Workspace rock for your team.
Seeing all these options for the first time might be a bit much, but spend a little time familiarizing yourself with it, and you’ll be changing settings like an expert in no time!
Let’s talk about how to add users and groups next.
Add Users and Groups
First, head over to admin.google.com and log in with your Google Workspace admin account. Remember, you have to use an admin account. It’s a great way to make all the needed adjustments and updates.
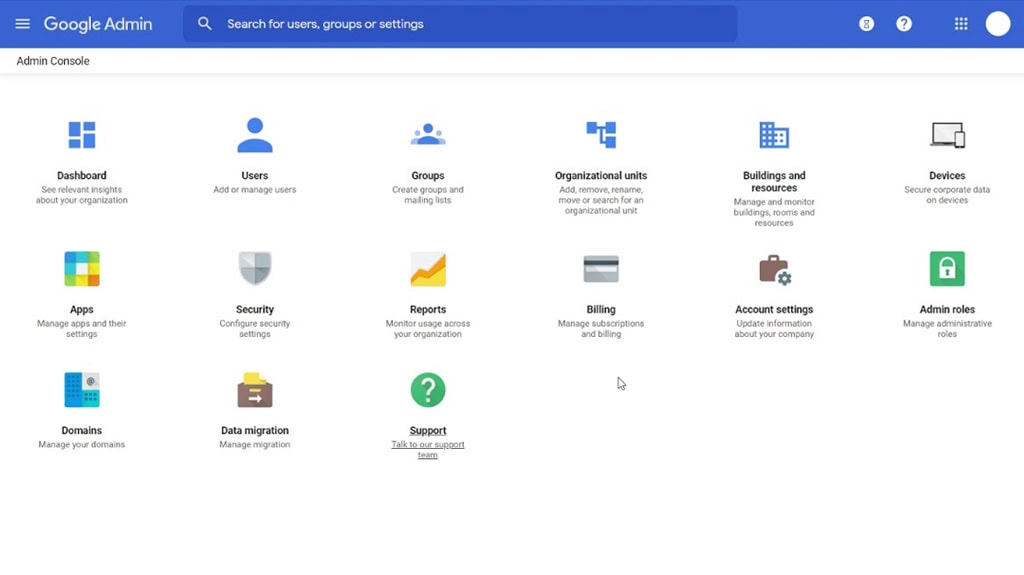
Once you’re in, you’ll be greeted by the dashboard. Yes, it might look like mission control with all its knobs and dials – aka options and settings – but give it a little time, and you’ll feel right at home. This dashboard is your favorite spot for checking out how your domain is doing and quickly managing users, groups, devices, and all those settings.
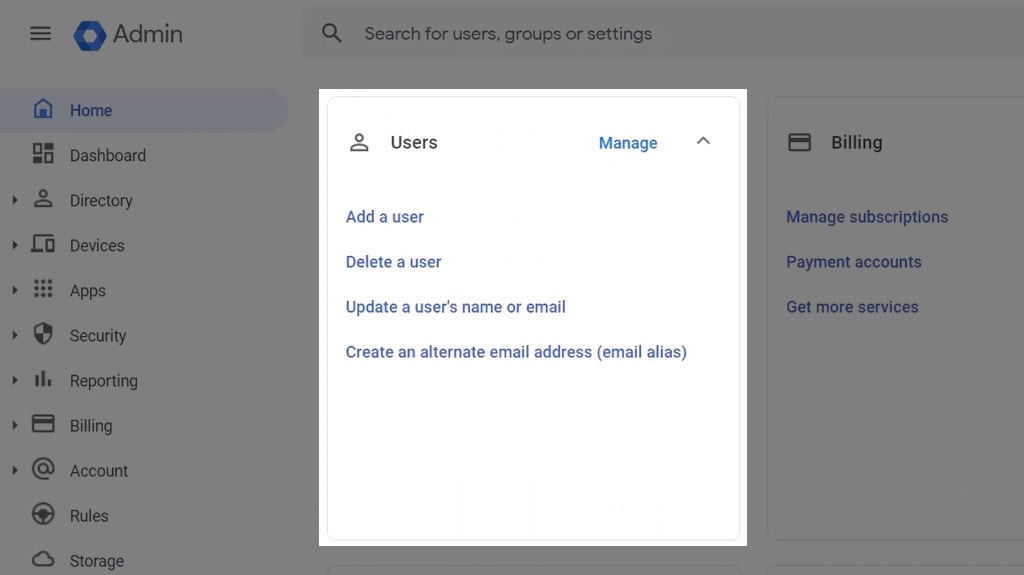
Adding new people to your team? Piece of cake. Pop over to the Users section. Here, you can add people one by one, or if you’re bringing on a whole crew, use a CSV file to add them all at once. Super useful, right? Plus, this is the place to group users, which makes it easier to manage who gets access to what.
Let’s talk about apps. Heading to the “Apps” section, you’ll find yourself in the control room for enabling Google Workspace services and integrating third-party apps. Whether it’s turning on Google Drive for people or changing Gmail settings, a few clicks are all it takes. Adjusting these settings is important to boosting your team’s productivity and keeping everything secure.
Speaking of security, that’s your next stop. The “Security” section is where you improve your defenses – start with turning on things like 2-step verification and then talk about the more advanced security measures. Given the wild world of cybersecurity threats out there, this is one area you’ll want to pay close attention to. We’ll talk about that in greater detail in the next section.
Think of setting up and managing the Google Admin Console as part of your daily mission to keep your organization running smoothly and securely. As your team grows, you’ll continue fine-tuning things to make sure you’re always guiding the ship in the right direction.
Configure Security Settings and Manage Devices
Kicking off with 2-Step Verification (2SV) is an absolute must for all users.
Here’s the full story on how I tackle it: in the Admin console over at admin.google.com, head to Security > Access and Data Control > 2-Step Verification, and flip the 2SV switch for either people or just specific groups.
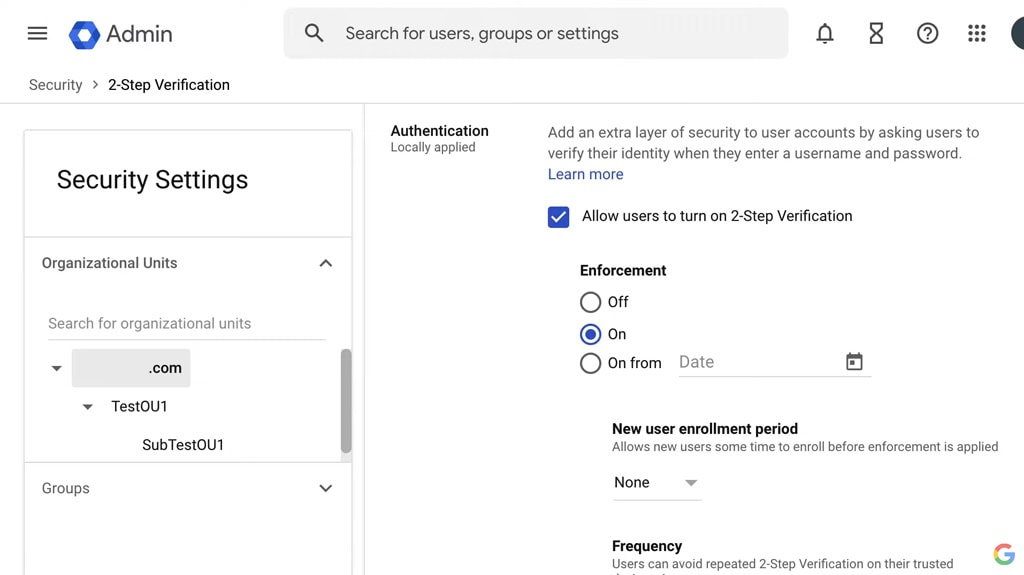
I mix in a bit of flexibility by letting users have a say in their app access levels, especially for those not-so-secure apps, and then lock in my choices. It’s incredible, really, which makes sure only the right people can touch sensitive info.
And let’s talk about keeping an eye on those apps that aren’t exactly Fort Knox. Back in the Admin console, go to security> Access and data control > Less secure apps to choose whether to hit the brakes or give the green light to users managing their app access. A quick save and it’s done. I keep coming back to this, changing to strike that perfect harmony between keeping things user-friendly and Fort Knox tight. You don’t want to find yourself locked out.
When it’s time to talk device management, it’s a choice between basic and advanced setups.
Basic’s fine if you’re just covering the basics, but Advanced? That’s where things start moving. With Advanced, I get to create specific policies for each device, helping manage everything, from personal smartphones to the fleet of company laptops.
Monitoring devices is very easy by heading to “Menu > Directory > Users.” This spot gives me a summary of how devices are being used and if they’re working well with our security rules. I find sifting through the device list at “Devices > Mobile & endpoints > Devices” to be super useful for a quick bird’s eye view of everything. Plus, downloading this list as a CSV file or Google Sheet straight from the Admin console is a cool trick for keeping tabs and audits easy.
The process of adding a Google endpoint for every piece of tech gear we own – whether it’s those wanderlust mobiles, overworked laptops, or steadfast desktops – has been a smooth move. Keeping it all under one roof in the Google Workspace Admin console can make it easier to keep an eye on things.
Set Up IMAP and Email Clients
Email setup is a big deal, especially if everyone’s using IMAP email clients. So, let’s talk about how you can use the Google Admin Console to keep your organization’s emails flowing quickly and easily.
The goal is to make sure the right email clients can connect to Gmail and that everything’s locked down tight with OAuth client IDs.
Remember, you’ll need to use your organization’s domain account here, so leave your personal “@gmail.com” out of this. Once you’re in, head over to “Menu > Apps > Google Workspace > Gmail > End User Access”. This spot’s your command center for the setup process.
It’s decision time. You need to figure out which settings work best for your whole organization or a specific chunk of it (that’s your organizational unit or OU). If you’re going large, stick with the topmost OU.
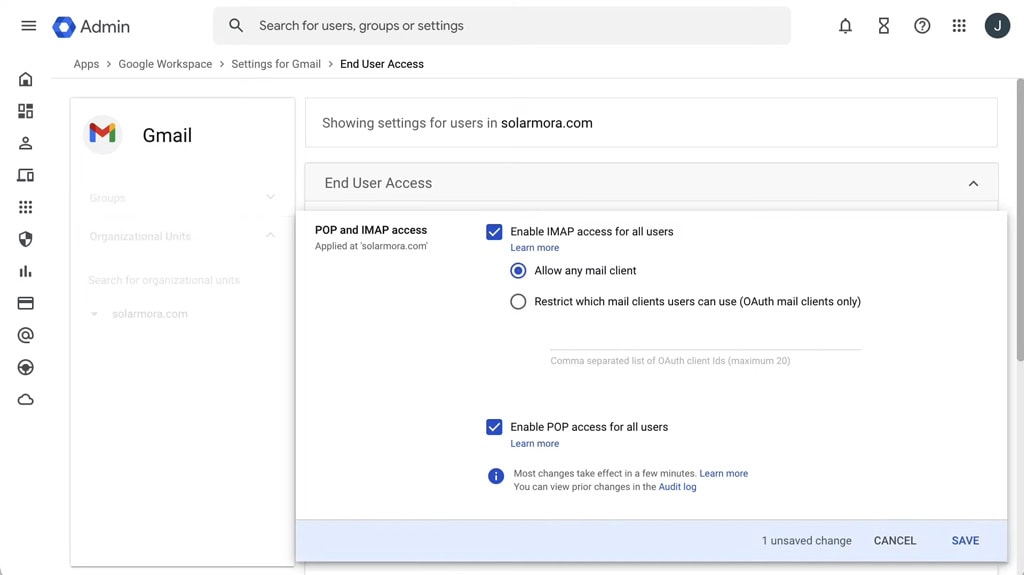
The next stop is “POP and IMAP access.”Here, you’ll find the great switch, “Enable IMAP access for all users.” Flip it on to get things rolling. But here’s the thing: do you let any old mail client in, or play it safe with only the ones packing OAuth IDs? For a tighter ship, picking the OAuth-only path is the way to go.
Whether or not you want to make this choice puts you in the driver’s seat for your organization’s email security; sticking to OAuth client IDs is saying only the good guys – the secure clients – get a pass.
If you’ve decided to be choosy with your mail clients, pop their OAuth IDs into the “Comma separated list of OAuth client IDs” box. If you hit a roadblock figuring out which IDs to use, don’t worry – there’s guides out there for picking up common OAuth IDs for email clients. Hit save once you’re done, and give it up to 24 hours to kick in (though it’s usually quicker).
With everything set up, you’ve just improved your team’s email security by a mile. And that’s peace of mind, knowing you have everything under control!
Train and Educate Your Users
Getting your team comfortable and savvy with the Google Admin Console is a good idea – it’s really important. Let’s face it: talking about something new can be a bit scary. Without the right know-how, people might shy away from using all those awesome features Google Workspace has to offer. It’s like having a Swiss Army knife and only using the toothpick!
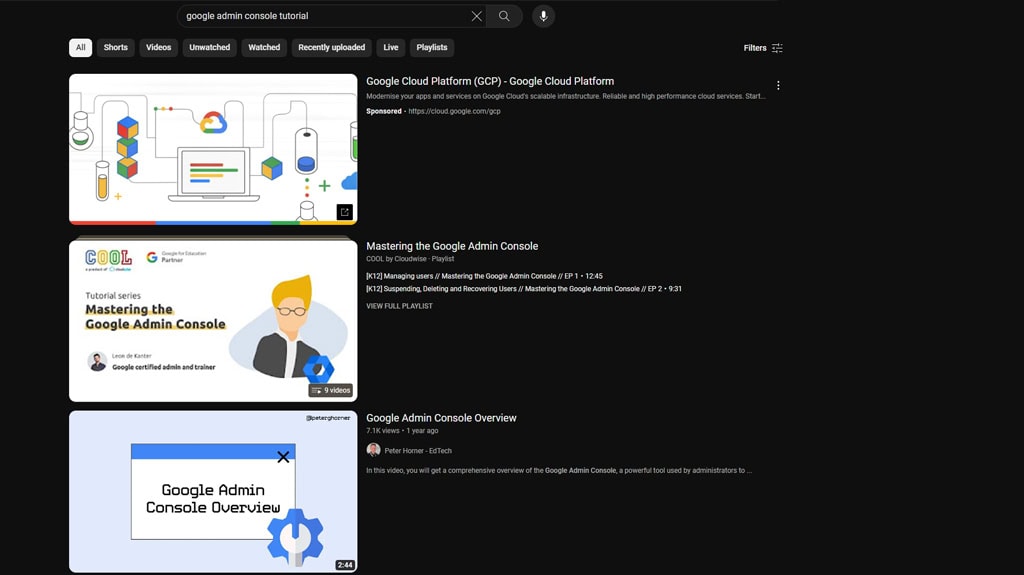
Kicking things off with solid training sessions and clear guides is a must. And no, we’re not just talking about a marathon of YouTube videos, but handpicking the best resources, like gems from Google itself, to get people from newbies to pros up to speed. Understanding both the “how” and the “why” behind each feature is what turns average users into Google Workspace wizards.
Next up, let’s talk about keeping things tight with impressive access control and security. There’s a reason strong passwords and email aliases are a big deal – they’re your organization’s armor. Taking control using the Admin Console beefs up security and makes sure the right people have the right access.
And then there’s managing all the devices in your arsenal. Whether it’s smartphones or tablets, setting up smart policies makes sure work gets done safely and smoothly, no matter the device.
Introducing email setup and improving security with two-factor authentication and OAuth. These aren’t just fancy terms; they’re your fortress walls guarding against cyber threats.
Last but not least, never underestimate the power of asking for feedback. It’s like having a heart-to-heart with your team about what’s working and what’s not. This main source of strategies is what shapes future training and keeps your strategies sharp and effective.
Manage Your Google Workspace Files More
Once you have your Google Admin Console up and running, remember that Google Workspace Support has your back with any issues you might face. They’re on standby 24/7 and will help out via email, conversation, or phone, no matter how big or small your issue.
Basically, check out the contact support option in your Google Admin Console to get that one-on-one support action. The kind of help you’ll get varies depending on the Google Workspace edition you’re on. But very, make the most of it. The support crew is fantastic – they really know their things.
Google has a ton of do-it-yourself resources, too. We’re talking tutorials, step-by-step guides, and tips on best practices that are super clear and mega useful for getting the most out of your Google Workspace. Plus, talking about community forums lets you mix it up with other admins, share knowledge, and tackle problems together.
Using these tools both sort out your latest issues; it seriously levels improve your skills, which makes you one savvy Google Workspace admin!
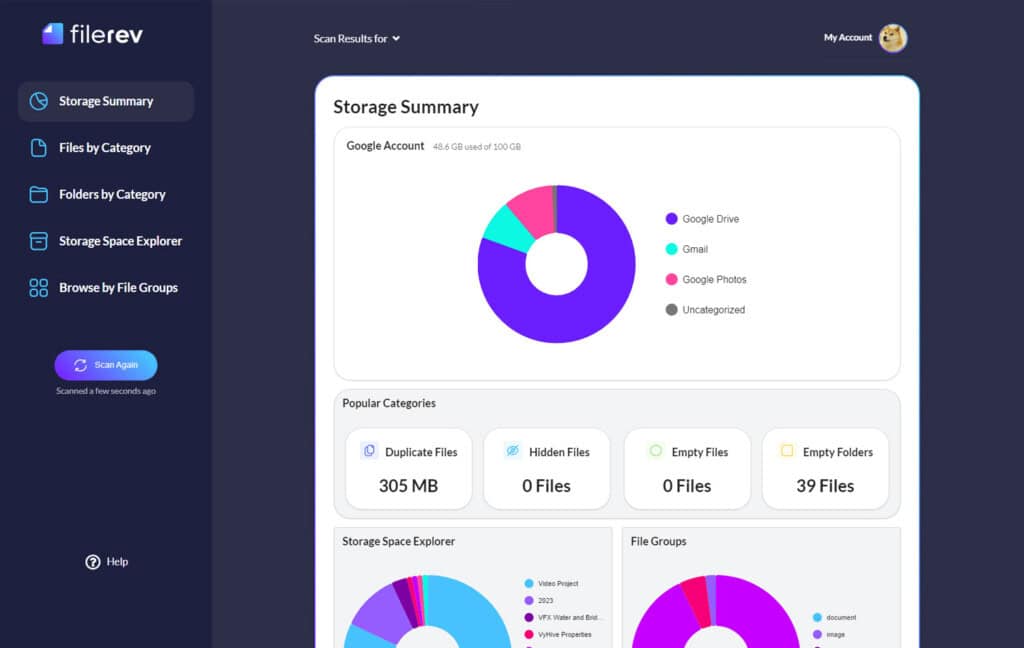
Switching gears to Google Drive optimization, meet Filerev. I created Filerev to make your Google Drive life very easy – it helps keep everything organized and saves you some precious space.
How? By tapping into the Drive API to do complete audits and clean-ups. Filerev could be incredible for managing your Google Drive space and boosting your productivity. We save organizations money and reduce bloat, from small businesses to massive universities and corporations. And it’s free to get started – give it a try!
Related Posts
 What Are The Roles and Responsibilities of a G Suite Admin?
  [Guide] How to Download Large Files from Google Drive
  Google Drive vs Google Photos: Which Is Best for Photo Storage?
  If I Share a Google Drive Folder, Can They See My Other Files?
  Powerful Tool to See Your Google Drive Folder Size
  How to Check Which Devices Are Synced with Google Drive
Leave a Reply