

Want a neater way to handle your screen captures on a Mac or PC? This simple guide will show you how to clean up your space. Set up Google Drive on your computer first and pick out a folder for your screen captures. Adjust your device to save new snapshots right to this folder, and watch as they zip over to Google Drive on their own.
Pretty cool, right? If you need details for Mac and PC settings or tips to get the most out of it, I put together this guide to get you started. Google Drive isn’t a bad place to store your screenshots, and it doubles as a powerful cloud backup option in-case you need to retrieve these screenshots later.
Check your synced folder regularly to make sure everything is uploading without a hitch. And don’t worry; organizing them into smaller folders makes it very easy to find them later on. This clever technique is a real timesaver and means you’ll never have to hunt for a lost screenshot again.
Let’s get started!
Method #1: Change Your Default Screenshot Location on Your Mac
Have you ever wanted your screenshots on your Mac to pop up in Google Drive automatically? It’s kind of like magic, but it’s super simple to set up.
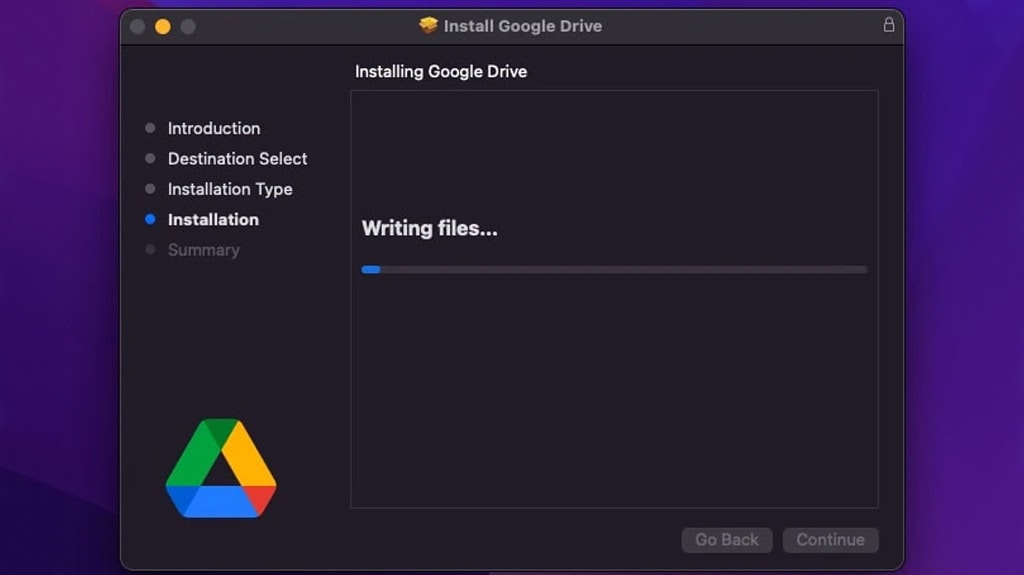
First off, just install Google Drive and sign in. This connects your Mac and Google Drive together – done!
Next, let’s get these screenshots to fly straight into Google Drive. Open up “Terminal,” and type this command:
- defaults write com.apple.screencapture location
Also, fill out the Google Drive folder path you’re using to make sure this folder is all set to go. To make sure these changes stick, then you type:
It’s like flipping a switch to restart that process and refresh the appearance of your OS, like your dock, menus, user interface, and so on. It won’t restart your computer – just your interface.
If you’re snapping screenshots but they’re not showing up in Google Drive – don’t worry. Take a quick trip to “System Preferences,” hit “Keyboard,” then “Shortcuts,” and then click “Screenshots.” Check that the shortcuts are actually on to take screenshots. If not, you can choose a new shortcut to get this working again. The default is command+shift+3 to take a screenshot of the entire screen and command+shift+4 to take a screenshot of a certain area.
You’re all set to have your screenshots automatically drop into Google Drive!
Why do this? Well, your screenshots are now super easy to get to, they’re safer, and they play nice with all your devices. Getting your Mac settings just right helps you keep your desktop tidy and makes you more efficient. So, screenshots that used to be stuck on one device are now ready and waiting for you in Google Drive. Sweet, right?
Next, let’s talk about the Windows method.
Method #2: Google Drive for Desktop on Windows
Getting Google Drive on your Windows computer is also pretty simple, and it’s important to sync your screenshots directly to Google Drive.
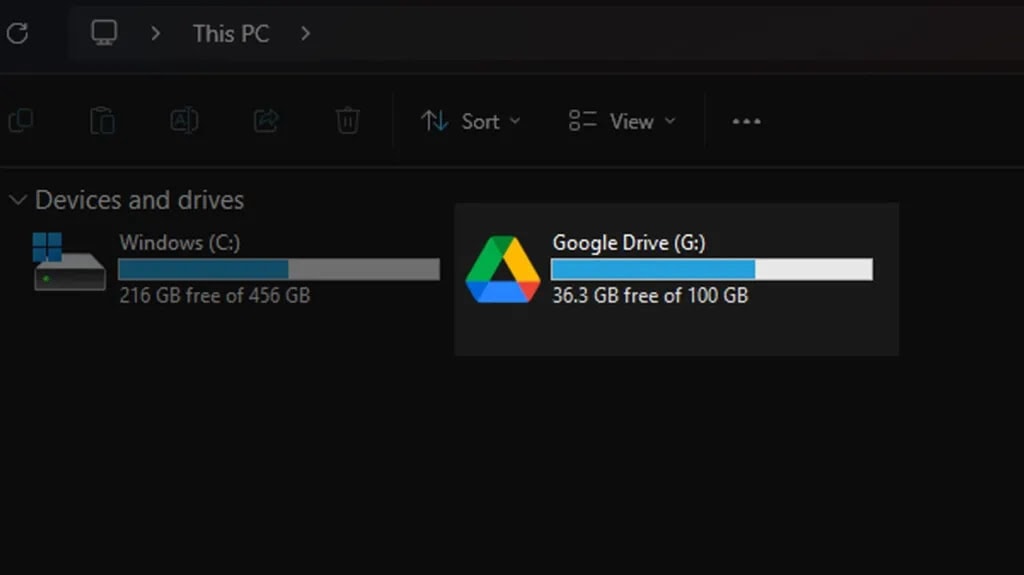
Just head over to the Google Drive site, grab the desktop app and sign in with your Google account. Follow the easy steps to get set up. Next, pick a place on your computer where everything you put in it will pop up in Google Drive, too.
You’ll want to make sure all these screenshots you take with the “PrtScn” button automatically go to that special folder. If you use screenshot tools like Greenshot or LightShot, you’re in luck! You can set it up so every snapshot you take heads straight to the Google Drive folder easily. But if you’re more of a Snipping Tool fan, you have a bit more to do – just remember to save your shots to that Google Drive folder each time you take one.
Do you have Windows 10 or something newer? You’re going to find this pretty convenient. With Snip & Sketch, set it up once, and then all your snapshots will save to the Google Drive folder from then on. And, why not pin Snip & Sketch to your taskbar for speedy access!
Just like that, your screenshots will always end up in Google Drive.
Method #3: Third-Party Tools for Mac
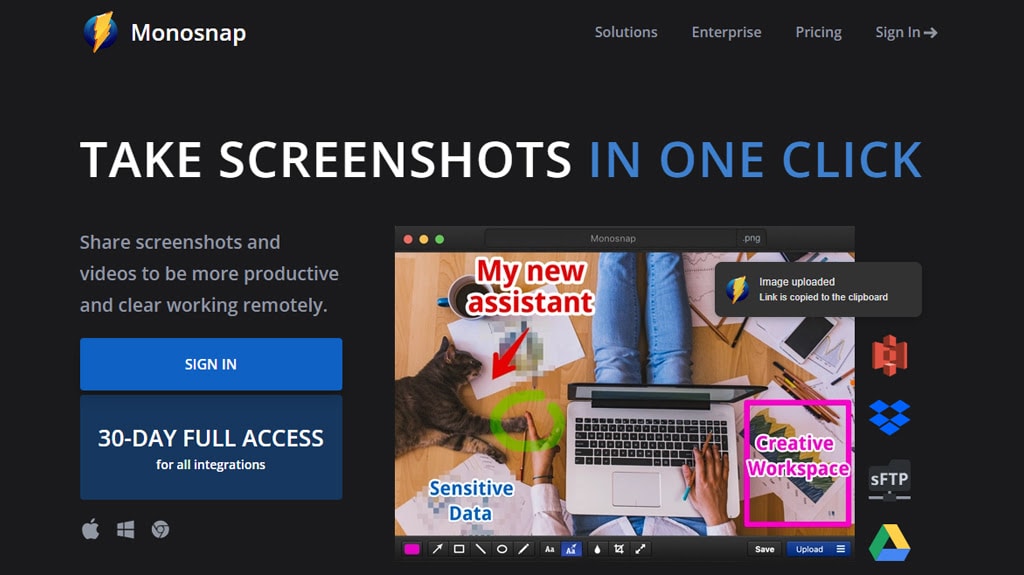
Apps like Monosnap and Bardeen can turn a snooze-fest of uploading screenshots to Google Drive into something pretty slick and snappy.
Let’s kick off with Monosnap – it’s like your useful sidekick for snagging shots of your screen super quick. It’s loaded with easy-peasy annotation tools that let you boost your images with text or doodles to make sure everyone gets the picture. Basically, it’s your favorite for whipping up guides or explainers that anyone can grasp in a heartbeat, sending them straight to Google Drive without a hitch.
Flip the coin, and there’s Bardeen. Ever tried to fit a whole webpage into a single screenshot? Sounds like a stretch, but Bardeen makes it a piece of cake. It hangs out in your Chrome browser, ready to leap into action, snapping everything on a page from top to bottom and zipping it to your Google Drive. Believe it or not, it’s incredible when you’re racing against the clock.
Monosnap’s a real friend for when you’re jumping into the details, and Bardeen’s your friend for grabbing the big picture.
There’s also Dropshare, a personal favorite. What’s cool about this is you can configure it to upload automatically and then copy a link to your clipboard, too. So, with one shortcut, you now have a link that you can send in instant messengers, email, social sharing sites, and so on. It’s compatible with 27 different Cloud services, like Google Drive. You can even put it on your own custom domain!
Each of these is useful for different purposes, so check them all out and see which one looks better for you.
Method #4: Leveraging Third-Party Software on Windows
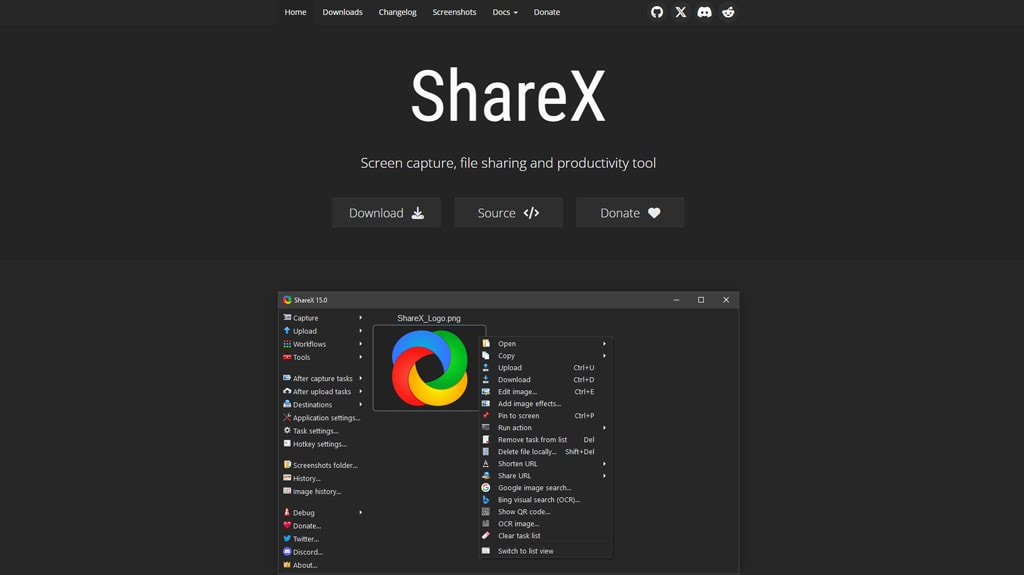
If you’re using Windows and need an easy way to take and share screenshots, try out ShareX or PicPick, especially because they work with Google Drive.
ShareX is really user-friendly and packed with useful features. You can grab an image of your whole screen or just part of it, then change it without missing a beat. The cool thing is that ShareX can automatically send your shots straight to Google Drive, which is a big timesaver. You get to set up quick shortcuts and pick the file type that works for you. Basically, ShareX captures images; it helps you work smarter and share your things faster.
PicPick, on the other hand, is super if you want powerful features without any clutter. It’s like ShareX because it has different ways to capture your screen and comes with an easy-to-use photo editor. Once you’ve fixed up your image in PicPick, it quickly sends it to Google Drive. Also, you can use other cloud services too, which means you can handle your images how you like.
Both programs skip the hassle of uploading by hand, giving you speedy and strong tools for snapping and editing on the fly. Having Google Drive in the mix is great for teaming up with others online. Add ShareX or PicPick to your daily tech toolkit, and you’ll definitely enjoy a smoother and more efficient way to deal with your screenshots.
Method #5: Use IFTTT to Automate Your Screenshot Uploads
Starting an IFTTT account lets you set up automatic uploads to Google Drive in no time. It doesn’t matter if you’re using an Android or an iPhone; just go to your photo service – that’s “Android Photos” or “iOS Photos” – and pick the option “Any new screenshot.”

After you have that ready, choose Google Drive as the place you want to send your screenshots. You’ll have to link your Google Drive with IFTTT first. Then, pick out the exact folder in Google Drive where you want your screenshots to go.
Make sure you switch on the applet when you’re done setting it up. Your screenshots will start flying straight to Google Drive, which makes your life easier and your data safe and sound.
For people who are using Android, you’re looking for the “Any new screenshot” option under the Android Photos service. iPhone users, you have the same kind of thing to help you out. Remember to tell IFTTT which folder in Google Drive to use – it’s a real timesaver.
It’s also a good idea to give your applet a simple name that tells you what it does at a glance. Once it’s working, you can relax knowing your screenshots are zooming off to the cloud, syncing up like magic across all your devices, and getting tucked away safely in Google Drive. Honestly, it’s incredible, especially if you already use IFTTT – your photos stay finished, shareable, and, most importantly, far away from the dreaded “storage full” message.
Method #6: Use Zapier’s Ready-Made Automation
Ready to make your life simpler? With Zapier, you can set up a helpful little system to take care of uploading screenshots straight to Google Drive, freeing up your time for more important tasks. It all starts with setting up your account at Zapier.com. Use your email or a Google account to get going. Once you’re in, you’ll be greeted with a “Make a Zap” button right there on the dashboard.
Let’s hit the ground running. First, we’ll set up a trigger with “Schedule by Zapier.” Choose a time for Zapier to kick into gear each day. Then, you’ll choose “GetScreenshot” as the service to do the heavy lifting. Remember, you need to be on at least the Starter plan for this magic to happen. Select “Take Website Screenshot” and pop in the URL of the site you want to capture.
Next up, let’s get that screenshot a cozy spot on Google Drive. Select Google Drive as your service and “Upload File” to get your screenshot settled in the right place.
You know what’s coming next – test drive your Zap to make sure it’s working smoothly. Once you’re happy with it, you can relax, knowing it’ll diligently take care of these screenshots daily.
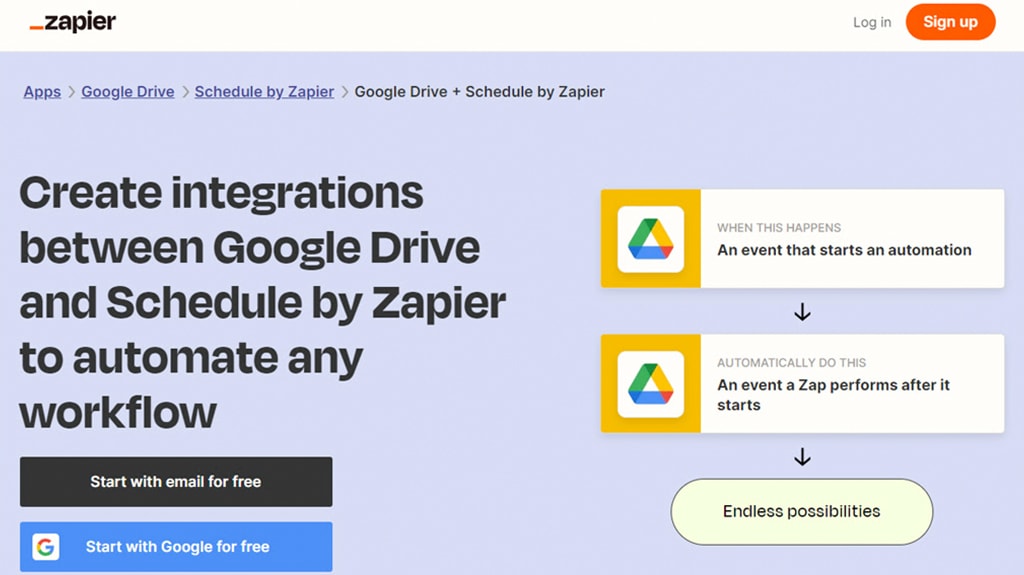
And if you’re short on time, I have your back. There’s a quick fix: a pre-made Zap. Just use the link provided, and you’ll have a setup that’s ready to go, snapping and storing webpage shots on your schedule. But, this will only screenshot websites that you give; if you want to set your computer to screenshot from a shortcut, you’ll have to set up a custom Zap or roll with another method on this list.
Optimize Your Workflow
To keep your screen captures moving quickly to Google Drive, first up, just get Google’s Backup and Sync onto your computer. It’s a snap to set up and helps scoot your snaps straight to a chosen folder in Google Drive.
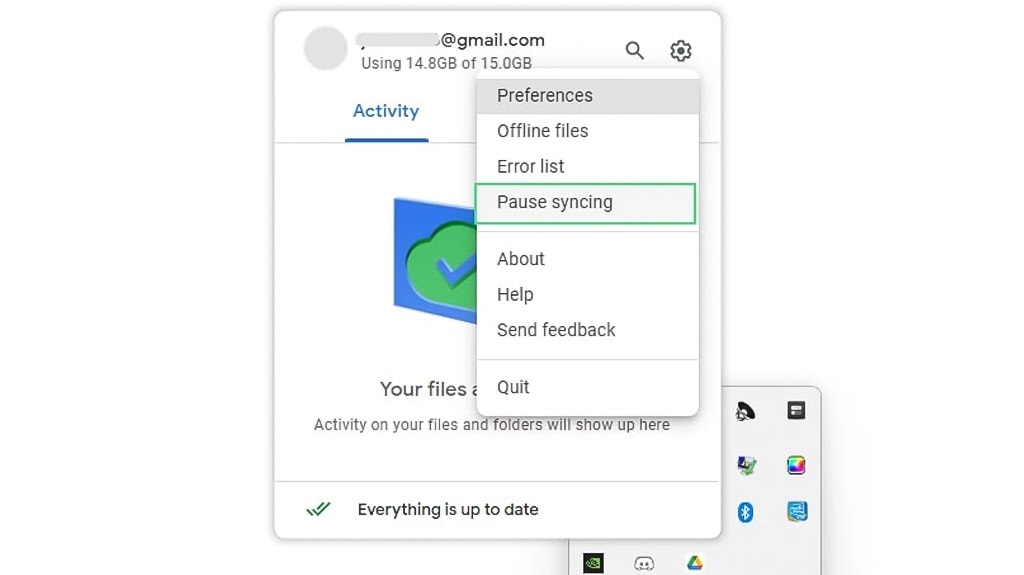
Why not whip up a new folder in Google Drive to house your pics? For you Mac enthusiasts, a simple Terminal trick can make sure all your screenshots automatically find their way there. And you Windows wizards, a tiny change in the Snipping Tool is all it takes to steer your snapshots to the right spot.
Feeling worried about the safety of your pictures? Google Drive has great encryption, which keeps them safe as they’re sent back and forth between your computer and your Drive account.
If you’re connected to the internet, your files will synchronize automatically. Command + Shift + 3 or 4 are your favorite snapshot shortcuts for Mac users, while Windows users can hit Print Screen and then just plop that picture into an image app, saving it straight to the Google Drive folder. Next, you can modify the settings of Google Drive to configure things further. Keep these screenshots rolling in smoothly by making sure you tick the right options under “My Computer.”
Google Drive’s useful search skills mean a couple of choice words will whip up the screenshot you need lickety-split, all because it’s a whiz at recognizing what’s in your pictures.
And once you’re all set, you can totally forget about that drag-and-drop process you were doing before. Press your shortcut, and you’re done!
Keep Your Google Drive Clean
Imagine having a neat and tidy space where finding your files on Google Drive is very easy. That’s what I built Filerev to do. It’s like having a smart assistant who makes sure everything is exactly where it should be so you can work smarter, not harder.
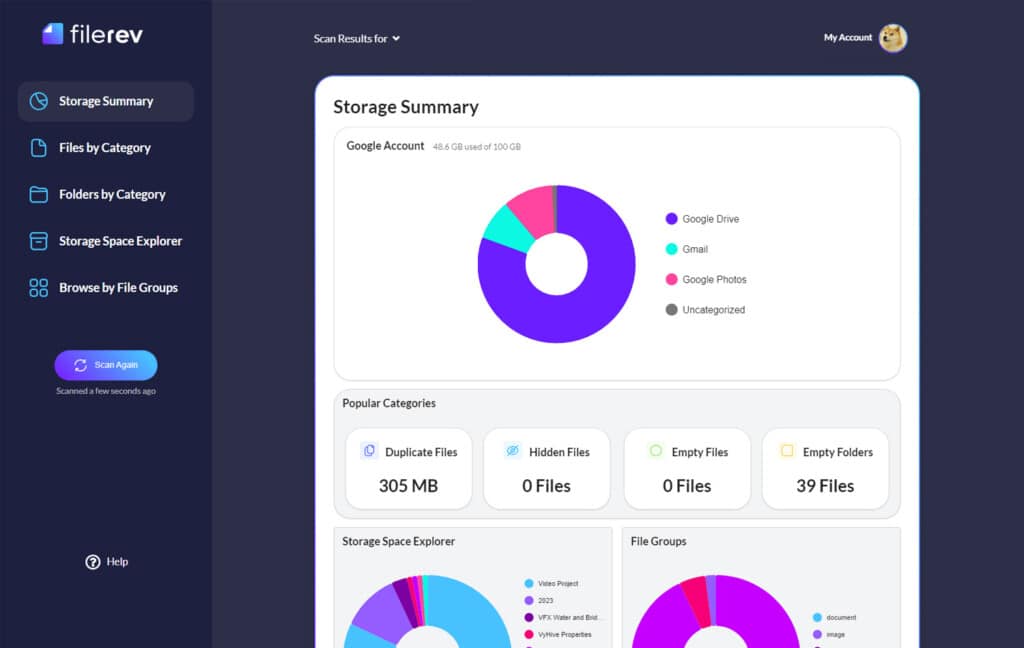
Think about it; with just one click, Filerev helps you quickly find large files that you don’t need, spot copies, and say goodbye to old things that are just taking up precious space. It’s like a magic wand for your clutter, and it can help you quickly review these files and free up your space.
I know what you’re thinking – “is it really that easy?” Absolutely! It’s free to get started, and we make sure that your cloud storage is always ready to handle your next big project!
Related Posts
 Powerful Tool to See Your Google Drive Folder Size
 Google Drive vs Google Photos: Which Is Best for Photo Storage?
 How to Backup Photos on Google Drive and Google Photos
 The Ultimate Guide to Adding Google Drive to Finder in macOS
 14 of The Best Google Chrome Extensions for Google Drive
 Differences Between Google Drive Web and Desktop Versions

