
Usually, Google’s apps all have some measure of interoperability. Some are deeply integrated and work very well with one another. Others are more cursory or even at odds with one another.
One that falls somewhere in the middle is Google Classroom. Classroom is Google’s added benefit for managing classes, teachers and students all linked to shared drives and accounts, with added perks for the educational institutions that upgrade to Google Workspace for Education. Google Drive is a key part of collaborative education through Google Classroom, but there isn’t really all that much in terms of advanced functionality between the two.
For students, it’s very simple. They have Google accounts enrolled in classes as student accounts, which gives them access to a shared folder in the Teacher account’s Google Drive. There, they can see assignments and upload their own homework. That’s more or less it on their part.
For teachers, it’s slightly more complex. A teacher will have a Google Drive account and can create a folder for each class. Student accounts enrolled in each specific class can see what is inside that class but not other classes. Inside that class folder, you can create subfolders for whatever organizational structure you want to use, with individual files, worksheets, and assignments within each.
So, how can you use Google Classroom and Google Drive together? Let’s talk about it.
Requirements for Google Classroom
Google Classroom is a free and easy system to use. Unlike Google Workspace for Education, you don’t need to pay to access Google Classroom. To get started, all you need to do is visit https://classroom.google.com/ and sign in. By default, you’ll be a student account, but there are several different roles your account can have assigned to it. Google Classroom also has a mobile app for both iPhone and Android, which is handy for some tasks but clunky and inconvenient for others.
Administrators
Google Classroom Administrators are able to protect specific data and set user permissions for users within their sphere of influence. They can also set up classes and student rosters for those classes and can add or remove students and teachers from those classes. Admins are also the only account type eligible for 24/7 support.
Education Leaders
The education leader role is sort of like a cross between a teacher and an admin. It doesn’t have full admin rights, but it can do a little more than a basic teacher. When an education leader visits a class, the account mimics a teacher’s account. Otherwise, it can manage other teachers on a class roster, view student profiles, and start video meetings. It can manage or create new classes, assignments, or grades for assignments. Education leaders can also add materials to assignments, including Google Drive items, Google Forms surveys, and YouTube videos.
Education leaders are also able to give feedback to students in real-time, can use the class stream to post announcements or post discussion questions for students, and perform other guidance tasks. Again, they’re basically a co-teacher in this role.
The one other thing education leader accounts can do is invite parent or guardian accounts to sign up for email summaries of a student’s work and performance in class. Depending on the kind of educational institution and class, this may or may not be useful.
Education leaders are slightly limited. They cannot delete a class, they cannot remove the primary teacher account assigned to a class by the admin from that class, and they cannot mute another teacher’s account in a class. They aren’t given more power than the primary teacher, essentially.
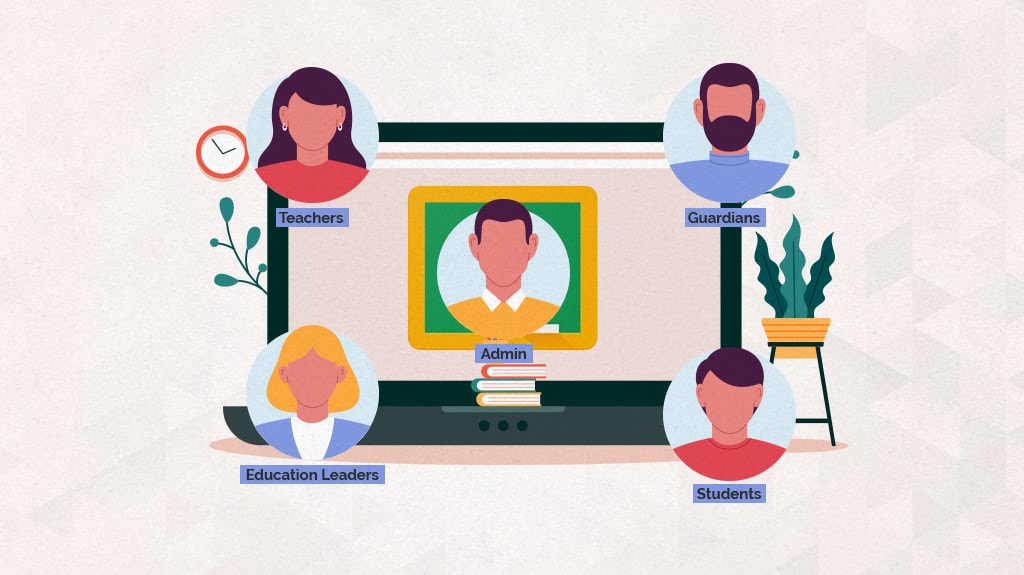
Teachers
The teacher account is able to access all of the usual files, edit them, and perform actual teaching tasks for a class. They can start video meetings. They can create classes, manage those classes, add assignments, and add grades for assignments across the classes they manage. They can add materials to classes, including YouTube videos, Google Forms surveys, or pretty much any file from an attached Google Drive. They can give real-time feedback to students and can post class announcements and discussion questions. And, like education leaders, they can invite parents or guardians to sign up for summaries. The primary teacher has the most power over a class, and Education Leaders – while they can do a few different things – are just co-teachers.
Guardians
The guardian or parent accounts can do very little. They can review announcements and activities, and they can get an email summary of their assigned student’s work, but that’s basically it.
Students
The student account is really just a basic account that can access and track classwork and assignments, share class resources, interact with the class stream and email feeds, and review classwork for originality. They can also view their feedback and grades on their assignments.
Standard Tasks in Google Classroom
Many of the standard tasks you might have to accomplish in Google Classroom make use of Google Drive to either do the task at all or make it easier. Let’s talk about a few of the common tasks you would need to do as a teacher, education leader, or admin account.
Making a New Class
To make a new class, all you need to do is make sure you have the type of account that can make a class. When you log in, there will be a big + icon in the upper right corner, by the nine dots and personal profile picture menus. Clicking this gives you two options: join a class or create a class.
Here, you have a choice. Google will ask if you’re planning to use Google Classroom in a school or other educational facility or if you’re using a stand-alone class system like you might if you’re setting up a community class at a local library or something of the sort.
Why is this important? If you’re using Google Classroom as part of a larger overall educational institution, Google actually does require you to use Google Workplace for Education. Your overall educational facility needs to sign up for Workspace for Education (also called G Suite for Education or Google for Education) and enroll you as a teacher in their institution.
This isn’t just a push for money on Google’s part, though. It gives you more overall protection, security, privacy, and interconnectivity with other educators in your institution. If you’re creating classes as a stand-alone, you don’t get the interoperability.
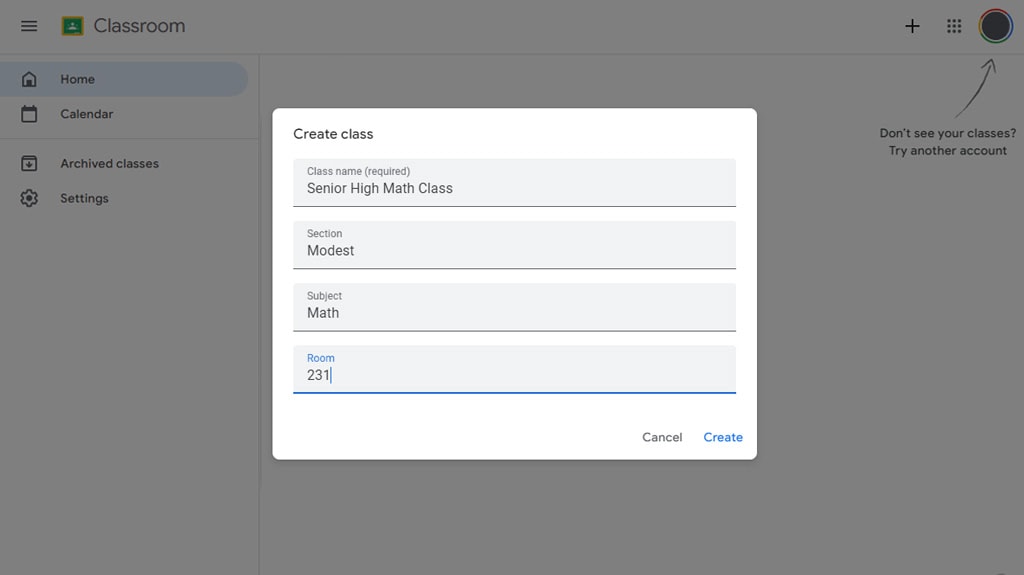
Once you’re ready to actually set up a class, it’s pretty easy. You’re given a form with things like the class name, section, subject, and even physical room if you have one. You create this, and then you have a big empty class to fill out with data. Here, you have different tabs you can populate with information.
- Stream. This is the homepage and is a “stream” in the “Facebook news feed” kind of way, not the live stream kind of way. It shows upcoming work, news, discussion posts, and other information in an aggregated feed.
- Classwork. This is where you create assignments, assign them to students, and grade them when students hand in their work.
- People. This is where you can view the students, other teachers, and guardian accounts attached to your class and can communicate with them.
Other tabs are pretty self-explanatory. The grades tab, for example, is where you can see grades for assignments, the class as a whole, students overall, and so on.
Adding Students to a Class
Adding students to a class is, of course, essential if you want to use Google Classroom as anything more than a personal echo chamber. At the top of the class page is the People tab, and in this tab, you can invite people as students. All you need to invite someone is their email address.
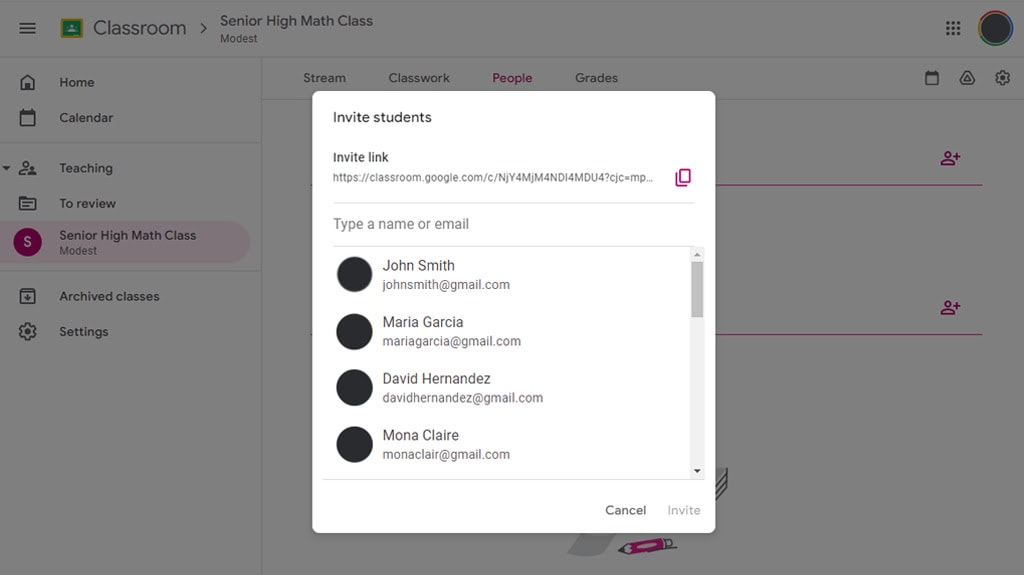
Alternatively, you can give people a code, so when they sign into Google Classroom, they can click the + sign, click to add a class and paste in the code to join the class. It’s also possible to generate an invite link, which is basically just a Google classroom link with an invite code attached to the metadata.
Adding Class Material from Google Drive
So far, not a lot of what we’ve talked about has anything to do with Google Drive. Well, here’s where it comes into play.
Whenever you create an assignment, you can add materials for that assignment. Those materials can come from Google Drive. So, let’s go through that process.
To start with, from your class hub, you need to click the Classwork tab at the top. On this tab, you can click the big [+ Create] button to create new materials. You can create an assignment, a quiz, a discussion question, a piece of material, or a topic, and you can reuse an existing post if you’ve already configured one you want to add. This is a useful feature if you’re running the same class multiple times.
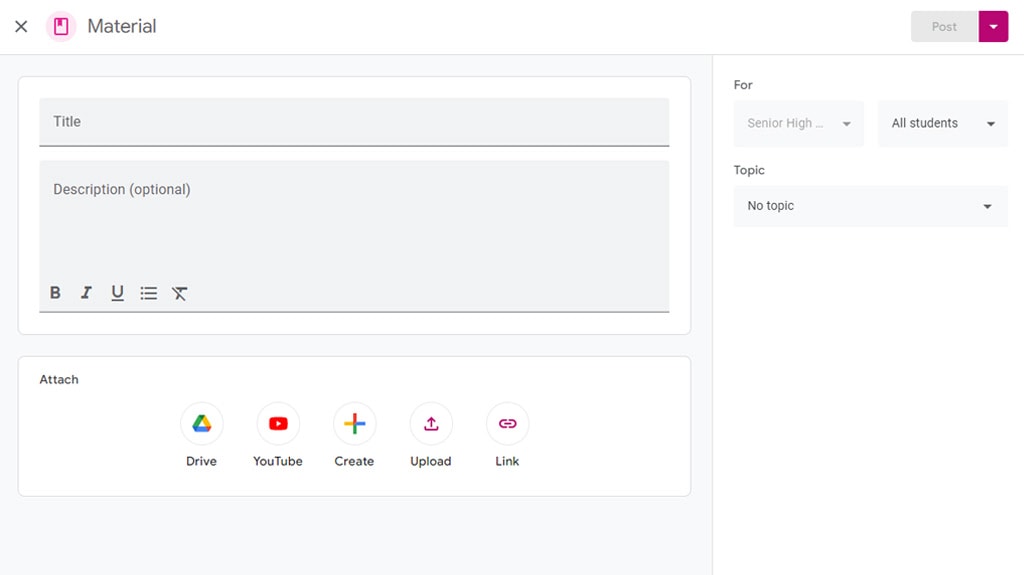
There’s a lot you can customize about a piece of material.
- Title. The title of the assignment or material you’re creating.
- Instructions. A free-form box to add any special instructions you have for the assignment.
- Points. If your material is a graded assignment, this is where you can assign how many points it will be worth, or you can choose Ungraded.
- Due Date. Self-explanatory.
- Topic. You can assign an overall topic for your assignments. For example, a math class might divide assignments into things like Algebra, Calculus, Derivatives, Matrixes, and so on. A Social Studies class might break things up by continent or century.
- Attachments. This is where Google Drive comes in. You can attach a file to your assignment, which can be anything from an image to a PDF to a video to another piece of media. You can attach these from your computer, from a URL, or from Google Drive.
- Assignees. You have the option of sending an assignment to the whole class or just to specific members of the class, for example, an extra credit problem for the weakest class members.
- Rubric. An optional attachment here can allow you to give students an idea of what you’re looking for when you grade their work.
My recommendation is to use Google Drive to host all of your classwork, so you don’t have to keep track of some files on URLs, some on your personal devices, some on work devices, and others on Drive. You can organize your Google Drive files in folders for subjects, classes, years, or whatever other form of organization you want. You can also move older and outdated assignments to an archive folder (so you don’t get rid of them entirely) and make use of Google Drive features like color coding, stars, priority, labels, and descriptions to make it easier to browse. This can be exceptionally useful if you’re, say, teaching several different but related classes, like first-year math, second-year math, and third-year math.
Keeping Control of Google Drive
One of the biggest challenges of being a teacher is, of course, keeping everything organized. Whether you have a single class or half a dozen, working for one year or for many, with one grade or several, you’re going to have anywhere from dozens to thousands of files, assignments, and other details to track.
This means that even if you’re being very proactive and using labels, colors, and a robust organizational system in Google Drive to keep everything pinned down, it can still spiral out of control much more rapidly than you might think. This is especially true if you’re working with other teachers who may not be as organized as you are.
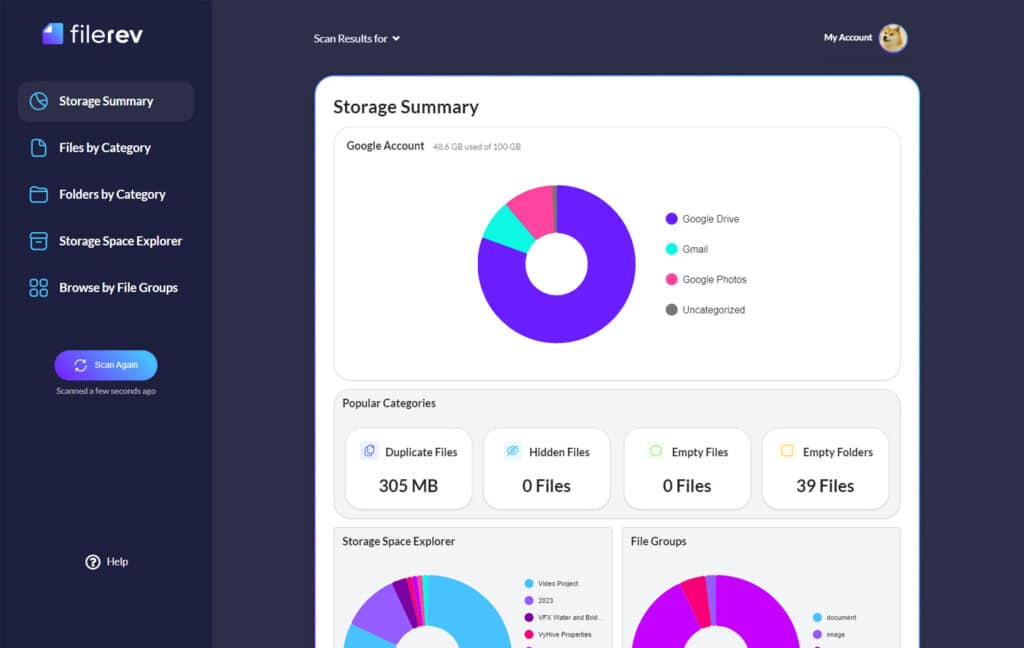
My biggest recommendation is to give Filerev a try. I created Filerev for businesses and individuals with large, cluttered, old, or disorganized Google Drive accounts. It allows you to audit and view everything in your Drive and perform a wide range of possible cleanup tasks, including seeing the oldest and least-edited files, the largest files, and even invisible files added by apps and other nonsense. All of this can be organized and even bulk deleted if you need to free up space or get rid of old classwork. Give it a try!
Related Posts
 The Ultimate Guide to Using Google Drive for a College
 Drive for Education: Storage Charges, Removing Alumni & More
 Powerful Tool to See Your Google Drive Folder Size
 Google Workspace Pricing: Is It Worth It to Upgrade in 2023?
 5 Ways to Get More Storage on Google Drive for Free
 How Do You Copy Files from One Google Drive to Another?

